Installation guide Windows Server 2016 RDS USER CAL
- 1 gigahertz (GHz) or faster or 64-bit (x64) processor
- 2 gigabyte (GB) RAM
- 60 GB of available hard disk space
- DirectX 9 graphics device with WDDM 1.0 or higher driver
The acquired CALs are applicable to all editions of Windows Server 2016 (Essentials, Standard, Foundation, Datacenter) and compatible with previous versions of Windows Server.
| LANGUAGE | 64 BITS |
| DEUTSCH | Herunterladen |
| ENGLISH | Download |
| FRANÇAIS | Télécharger |
| ITALIANO | Scarica |
| ESPAÑOL | Descarga |
To activate an RDS CAL, first make sure that the following roles and features are installed and running on your server.
- Make sure the following feature is installed: Remote Desktop Services.
- 121/5000 Make sure you have the following features installed: Role Administration Tools -> Remote Desktop Services Tools:
- Remote Desktop Licensing Diagnoser Tool
- Remote Desktop Licensing Tools
- Make sure the following role services are enabled: Remote Desktop Services:
- Remote Desktop Licensing
- Remote Desktop Session Host
- Make sure your Server is specified as the Remote Desktop license server in your Group Policies.
After you have verified all the requirements described above:
- Go to Server Manager
- Run the tools submenu
- Choose Terminal Services -> Remote Desktop License Manager
- Right click on your server and select “Activate server”
- Select your connection method, we recommend you choose “Automatic connection”.
- Fill in the required information of your company.
- At the end of the wizard, be sure to check the “Start license installation wizard now” option.
- In the License Program, select “License Package (Retail Purchase) and click Next.
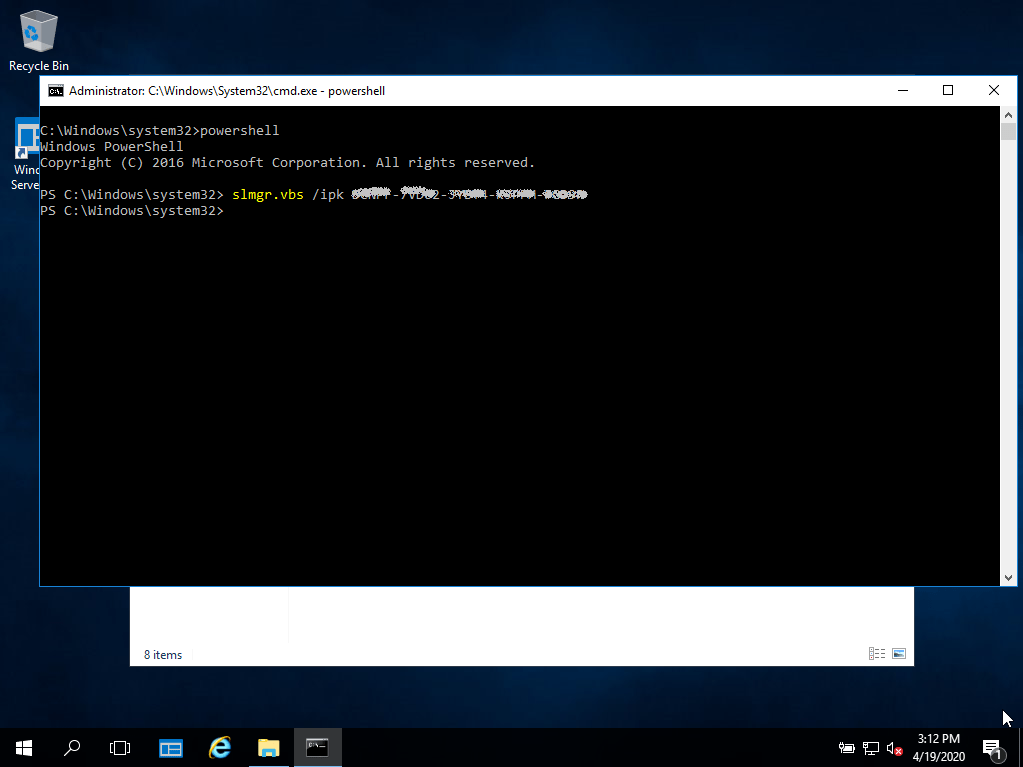
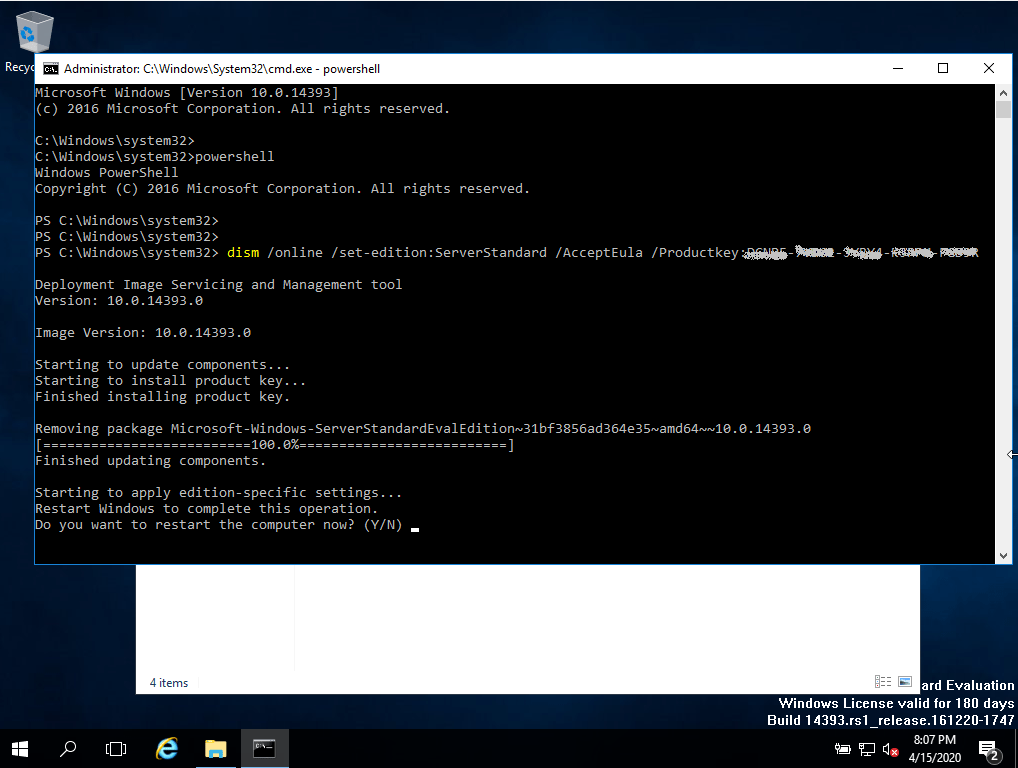
- Apply the key.
- Your server should now have the activation status as “Activated”.
For a step-by-step guide to setting up your server, check out this video guide:
We wish you a successful installation. If you still have problems or questions about the installation, please contact our customer service at any time. We will help you as soon as possible.