- 1 gigahertz (GHz) or faster or 64-bit (x64) processor
- 2 gigabyte (GB) RAM
- 60 GB of available hard disk space
- DirectX 9 graphics device with WDDM 1.0 or higher driver
Verify that you have a stable Internet connection during installation. Please follow these steps for a successful activation
If you already have a (installed) version of Windows Server 2019 Standard as a download or on USB / DVD, first try activating this version with our product key. Make sure your version of Windows matches the Windows version of the product key. Otherwise, or in case the installation doesn’t work, continue with point 2.
Download your version of Windows Server from the following link:
| LANGUAGE | 64 BITS |
| DEUTSCH | Herunterladen |
| ENGLISH | Download |
| FRANÇAIS | Télécharger |
| ITALIANO | Scarica |
| ESPAÑOL | Descarga |
The ISO file is the version for a permanent installation on a PC
After downloading, burn the ISO file to DVD or save it to USB. Once you boot your PC / Laptop with the DVD / Pendrive the installation program will run. Follow the guided steps of the program to complete its installation.
This supplied Microsoft installation includes a 180-day trial.
To convert to a full version, run following commands:
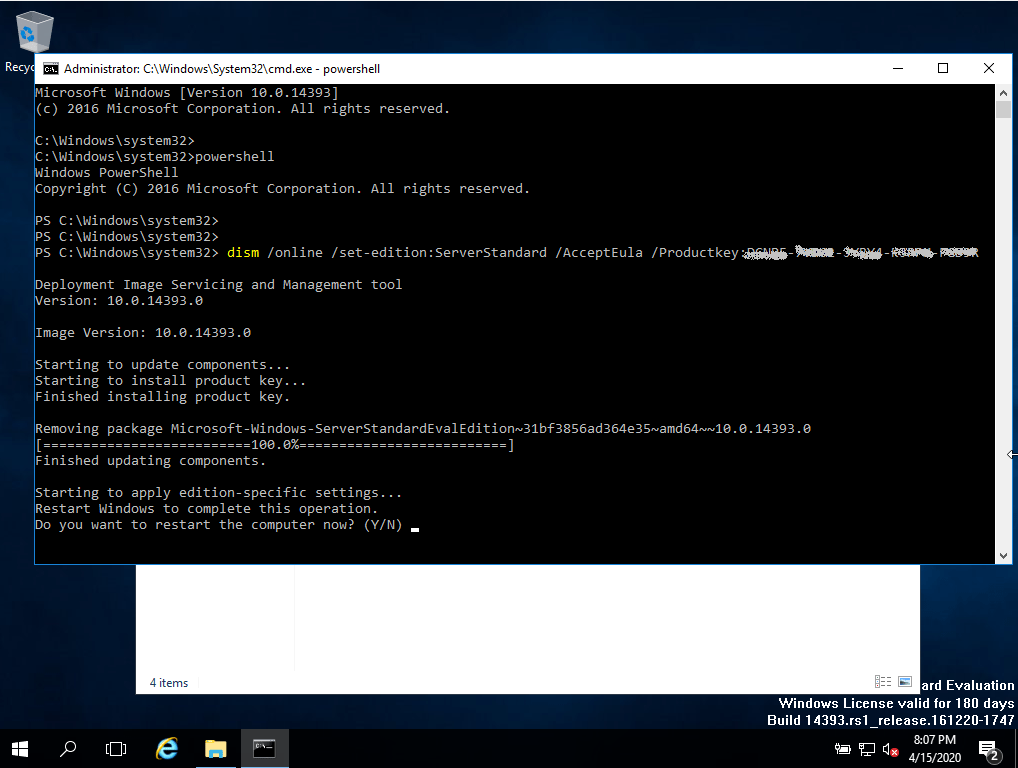
- Open Powersell as Administrator.
- In the console, enter the following command:
DISM /Online /Set-Edition:ServerStandard /ProductKey:XXXXX-XXXXX-XXXXX-XXXXX-XXXXX /AcceptEULA
(Initially, we use a generic key for the trial version, later we will activate the full version) - It will ask you to restart your computer.
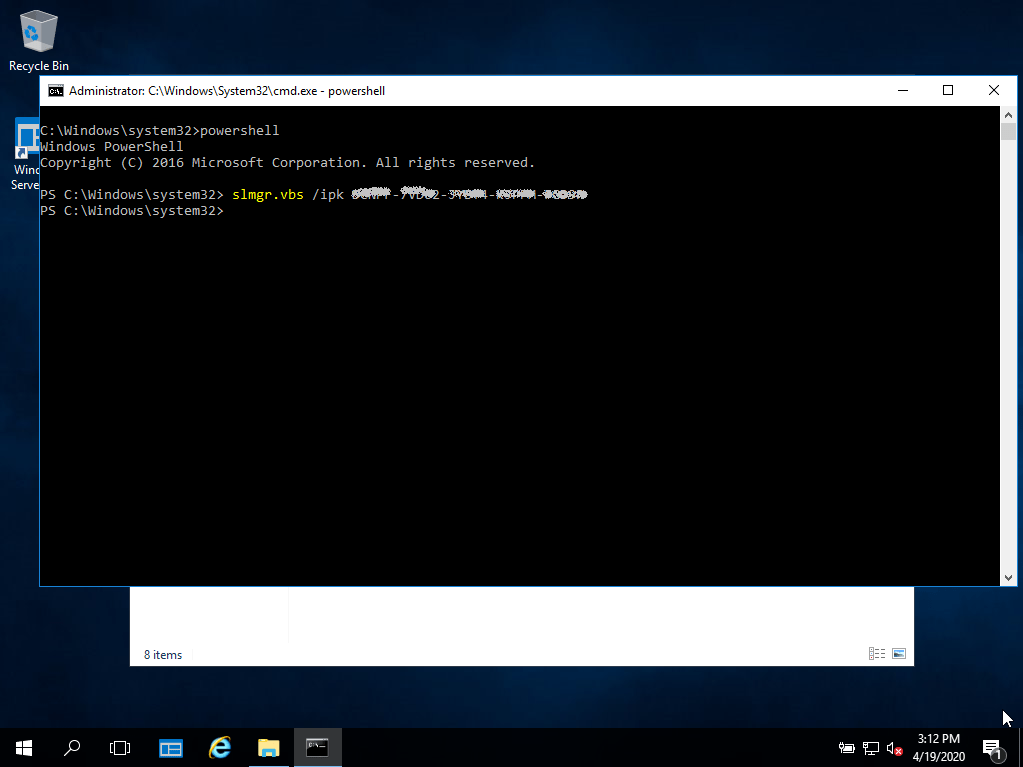
- Once rebooted, open Powershell as administrator and run the following commands:
slmgr -ipk XXXXX-XXXXX-XXXXX-XXXXX-XXXXX
(Replace the “X’s” with the product key you purchased)slmgr -ato
- Activation will be successful.